


There are a number of ways to install shoring boxes, and which one you use for your project is dependent on several factors. These factors include the ground the box is being installed in, the specific box that’s being used, the available machinery, and nearby traffic or buildings.
Pre-Installation Considerations
We have a variety of different shoring box options depending on the size of your excavation and the ground conditions encountered. Always ensure that the system you have selected is suitable for the ground conditions on your site.
Each of our shoring boxes is designed to have a maximum working pressure, and care must be taken to ensure that the maximum capacity is not exceeded.
The surcharge load also should be considered in your calculations when determining your shoring requirements. Surcharge loads include, site traffic, adjacent traffic, the excavated spoil from the excavation, nearby buildings, and excavators and cranes near the excavation.
How To Install Shoring Boxes
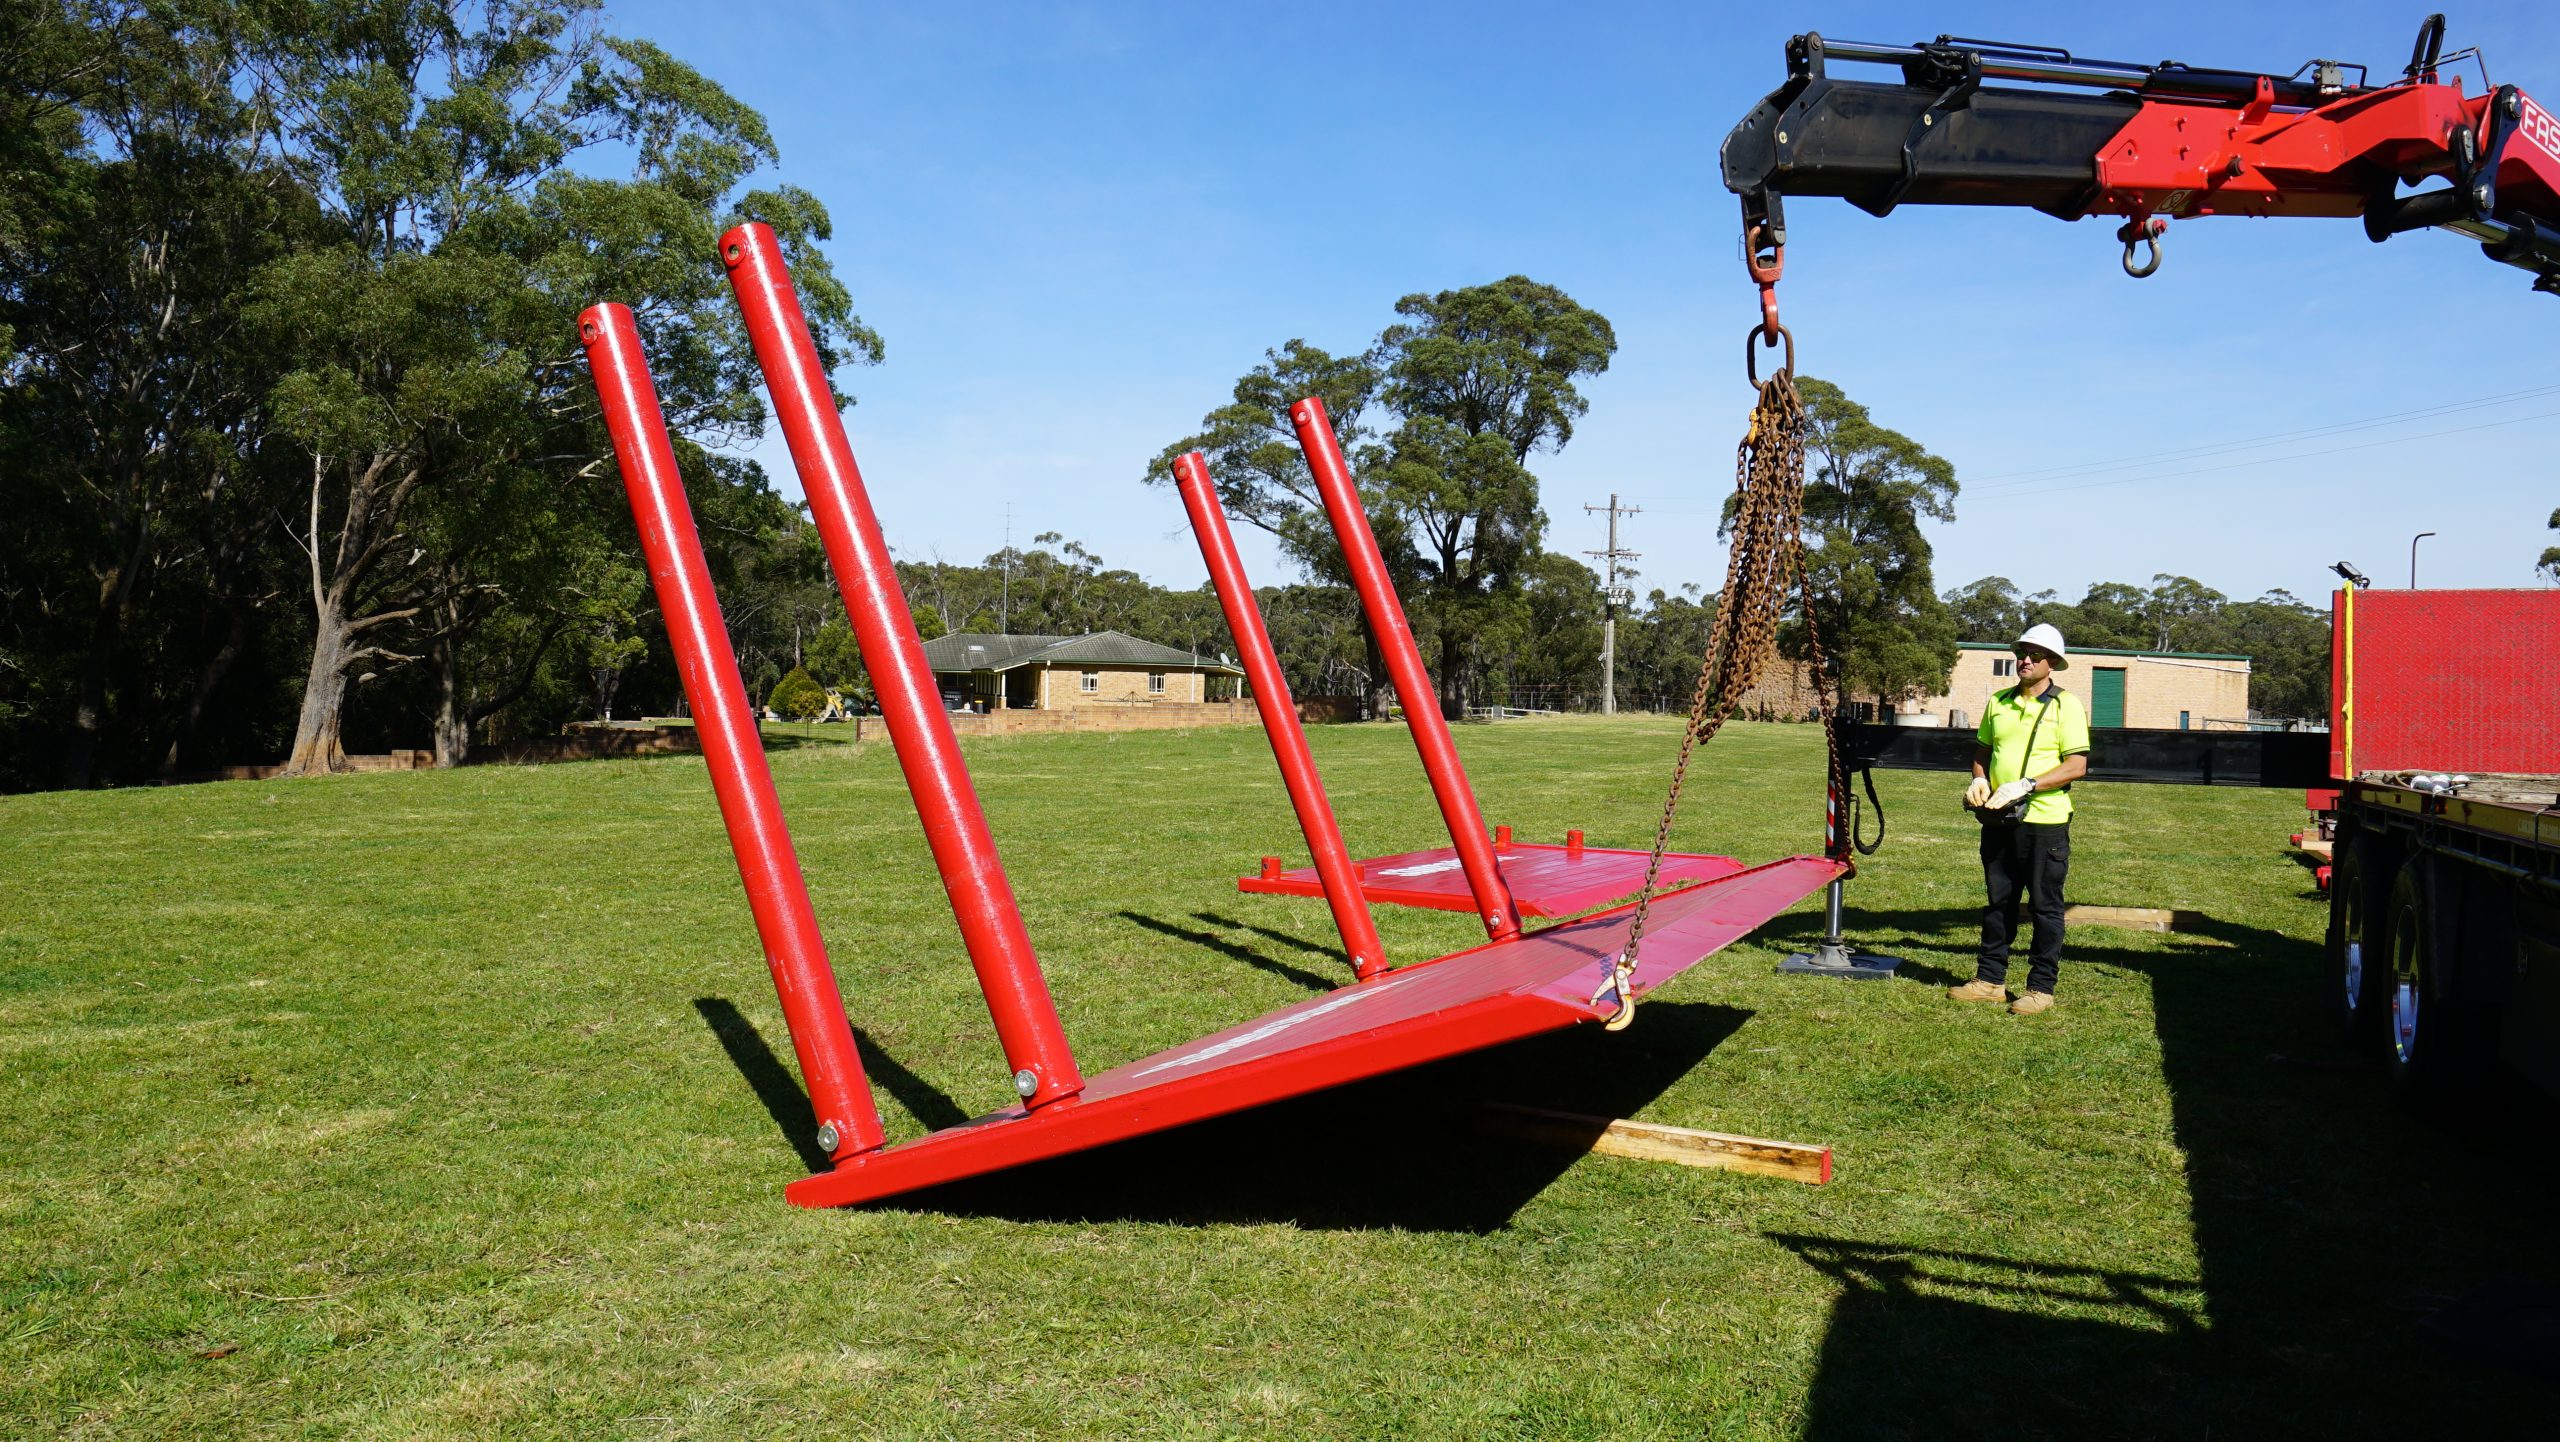
Step 1: Assembly
Shoring boxes can be assembled on-site near the excavation by laying one of the panels flat on the ground, attaching the struts, and then lowering the second panel on top and securing it to the struts. The box is then lifted so it is in an upright position and is ready for installation.
Alternatively, we have a pre-built service, where if conditions permit, Shore Hire will pre-build your shoring box before delivery so that when it arrives on your job site, it’s ready to install straight away.
Step 2: Installation
- In cohesive, stable soil – Excavate the ground to just slightly wider than the width of the shoring box and ensure the depth of the trench will allow the box to sit a distance of 0 – 500mm above the ground. The method that is ideal for this type of soil is called the ‘Dig & Place’ method. This is where, using lifting chains or similar, the box is lowered into a trench that has been completely dug out to the required depth, length, and width. The space between the box and the walls of the trench should be backfilled before beginning any works.
- In non-cohesive, unstable soil – Evacuate the ground until the soil begins to slide beyond the desired trench width. The method that best suits this type of soil is the ‘Dig & Push’ method, where a shoring box is lowered into a trench that is not completely dug out. Then, the back of the excavator bucket is used to carefully push down each corner of the box while the excavator digs within the box itself to install it fully in the ground. Backfill between the box and the walls of the trench and compact the soil before beginning works.
Shoring Box Features for Easier Installation
The lower panels on the majority of our shoring boxes ‘toe-out’, meaning that they are designed to be slanted slightly inwards. This feature makes the Dig & Push method an ideal way to install our boxes, as well as making them safer and easier to install.
Additionally, the bottom lip of our shoring boxes is angled outward, helping them go into the ground better and easier. This gives you the flexibility of using the Dig & Place or Dig & Push installation methods, ensuring effective installation in any ground conditions.
If you would like to learn more about our range of shoring boxes, or more information about how to install them, visit your nearest branch, email [email protected], or call our friendly team of experts at 1300 746 734.


")

")


